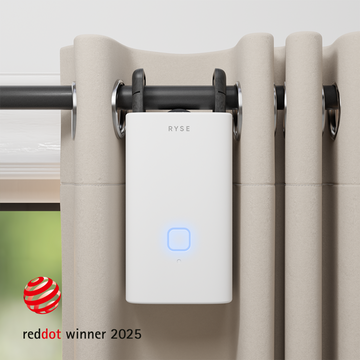


Modern homes are no longer just about style and comfort, they’re about convenience and smart living. One upgrade that combines all three is automatic blinds. These innovative window coverings let you adjust lighting, privacy, and energy use with the touch of a button, a smartphone app, or even a voice command.
If you’ve just purchased motorized blinds or are considering them, you may wonder: How do I install automatic blinds? The good news is that many models are designed for easy DIY installation. With a little preparation and the right tools, you can set up your blinds in just a few hours.
In this guide, we’ll walk you step by step through how to install automatic blinds, explain the different installation methods, and share practical tips for a smooth setup.
Why Choose Automatic Blinds?
Before diving into installation, let’s quickly look at why automatic blinds are worth the upgrade.
-
Convenience: Adjust your blinds without getting up—via remote, app, or voice assistant like Alexa, Google Assistant, or Siri.
-
Energy Efficiency: Smart scheduling can block heat during summer and allow natural sunlight in during winter, lowering HVAC bills.
-
Improved Sleep and Comfort: Set blinds to open gradually in the morning to simulate sunrise or close at night for complete darkness.
-
Accessibility: Ideal for seniors or people with mobility issues, since blinds can be operated without physical effort.
-
Modern Appeal: Adds a sleek, tech-savvy look to your living space.
Tools and Materials Needed
To install your automatic blinds successfully, gather the following tools and materials:
-
Measuring tape
-
Pencil and level
-
Power drill with drill bits
-
Screwdriver
-
Screws and wall anchors (usually included in the kit)
-
Step ladder
-
Your automatic blind kit (motorized blind, brackets, power source, and remote or control system)
Step 1: Measure Your Windows
Accurate measurements are the foundation of a smooth installation.
-
Width: Measure the inside width (for inside mount) or outside width (for outside mount) of your window at three points—top, middle, and bottom. Use the narrowest measurement for inside mounts.
-
Height: Measure the length from top to bottom in three places—use the longest measurement for consistency.
-
Mounting Depth: If you’re doing an inside mount, ensure the window frame has enough depth to fit the motorized blind mechanism.
Pro Tip: Always double-check your measurements before ordering. Automatic blinds are often custom-made and can’t be returned if the size is wrong.
Step 2: Install the Mounting Brackets
-
Mark Drill Holes: Hold the mounting brackets against the window frame or wall. Use a level to ensure they’re straight, then mark the screw holes with a pencil.
-
Drill Pilot Holes: Drill small holes at the marked spots to make screwing easier.
-
Attach Brackets: Screw the brackets into place using the provided hardware. If mounting into drywall, use anchors for extra support.
Pro Tip: Make sure brackets are level with each other. Even slight misalignment can cause the blind to operate unevenly.
Step 3: Mount the Blind
Once the brackets are secured:
-
Lift the motorized blind into position.
-
Snap or slide the headrail into the mounting brackets (depending on the design).
-
Secure any locking tabs to ensure the blind is stable.
At this point, your blind should be firmly mounted and ready for power.
Step 4: Connect the Power Source
-
Battery-powered blinds: Insert the battery pack or rechargeable batteries into the motor housing. Some models mount the battery pack above the window frame.
-
Plug-in blinds: Plug the motor cable into a nearby outlet and secure the cord with clips or a cord cover.
-
Hardwired blinds: Connect the wiring to your home’s electrical system (this is best done by a licensed electrician).
Step 5: Program the Remote or App
Automatic blinds come with either a handheld remote control, a smartphone app, or both. Here’s how to set them up:
-
Pairing the Remote/App: Follow the manufacturer’s instructions to sync the motor with your remote or mobile app.
-
Set Upper and Lower Limits: Define the open and closed positions so the blind stops at the right points.
-
Test the Blind: Use the remote or app to open and close the blind. Ensure it moves smoothly without sticking.
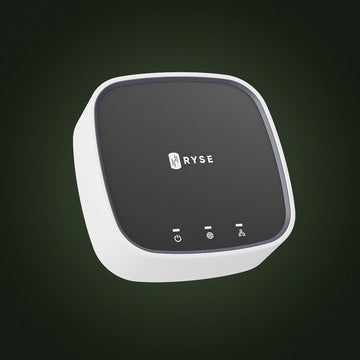
Step 6: Integrate with Smart Home Systems (Optional)
If your blinds are compatible with Amazon Alexa, Google Home, Apple HomeKit, or Samsung SmartThings, you can connect them for voice and app-based control.
-
Enable the manufacturer’s skill or integration in your smart home app.
-
Connect the blinds through Wi-Fi, Bluetooth, Zigbee, or Z-Wave (depending on the model).
-
Assign blinds to specific rooms or zones for better control.
Example voice commands include:
-
“Alexa, open the living room blinds.”
-
“Hey Google, close the bedroom blinds halfway.”
Step 7: Set Schedules and Automations
The real magic of automatic blinds comes with scheduling:
-
Morning Routine: Open blinds at 7 AM to let in sunlight.
-
Energy Saving Mode: Close blinds during midday heat to keep the house cool.
-
Evening Privacy: Lower blinds automatically at sunset.
-
Vacation Mode: Randomize blind movement to make it look like someone is home.
Troubleshooting Common Issues
-
Blind Not Moving: Check battery charge or power connection.
-
Uneven Movement: Recheck bracket alignment or recalibrate motor limits.
-
Remote Not Working: Replace batteries or re-pair the remote.
-
App Connection Failed: Ensure Wi-Fi is stable and that the blind’s hub or bridge is powered.
Maintenance Tips
-
Recharge or replace batteries regularly (every 6–12 months for most models).
-
Dust blinds and motor housing to prevent buildup.
-
Update firmware on your smart app to keep blinds running securely and smoothly.
-
Test limits periodically to ensure the blinds stop in the correct position.
Conclusion
Installing automatic blinds may sound complex, but with the right preparation, it’s a straightforward DIY project. From measuring and mounting to connecting the motor and syncing with your app or smart home, the process can usually be completed in just a few steps.
The result? A home that feels more comfortable, energy-efficient, and convenient. Whether you choose battery-powered, plug-in, or hardwired blinds, this upgrade can transform your living space into a true smart home environment.


